
As I mentioned in my last post, filing taxes on your own as an immigrant in Canada might seem daunting. However, an online tax filing software like UFile can make this process much simpler.
Last year, I decided to file my taxes online using UFile for the first time. It was super easy and I found it very useful. That’s why, in this blog post, I’ll walk you through the entire process I went through this year — from gathering your documents to submitting your returns — to file my taxes for the tax year of 2024.
So, let’s get started!
1. Gather the documents (T4, T2202, Rent Receipt)
First of all, you will need to gather all the documents required to file your taxes. As a PGWP (PostGraduation Work Permit) holder and as an ex-international student who completed her degree last year, I had to gather these documents to file my taxes this year (2025) :
- T2202 (from my university’s student account platform MyInfo. It should be under “My Finances”)
- T4 (from all the three employers I worked for last year. I obtained two of them from my respective accounts on their workforce apps, and one of them via mail sent to my home)
- Rent receipt (from my landlord. This can be a PDF or an image of a cheque from them, but should have their name, signature, the rented home address, and the amount you paid them for rent last year)
2. Create your UFile account
The process to create an account on UFile is pretty straightforward. I did it last year, so I don’t have those screenshots. However I do remember that it just requires your basic information (like email address, SIN, etc.).
3. Connect UFile to your CRA account
I also connected my UFile account to my CRA account so that it can get the information on my past tax filings. This also gives UFile the authorization to file your taxes for you.
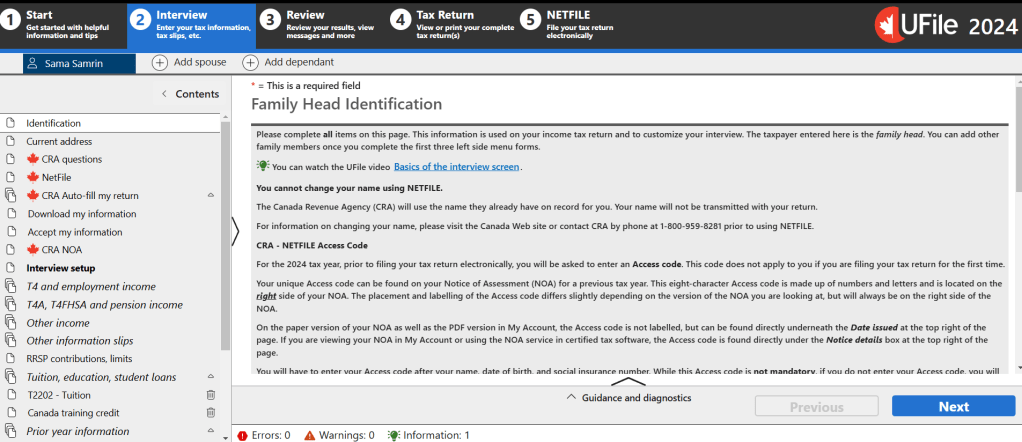
Then just move on to the Interview section, where you will provide all the useful information for your tax filing.
4. Fill up the boxes carefully
This is the main step.
But don’t worry, it’s not hard at all.
All you have to do is fill up particular boxes on the filing pages, according to the boxes provided on the documents you gathered.
For example, here is how your T4 will look once you get it online through your employee account or via mail:
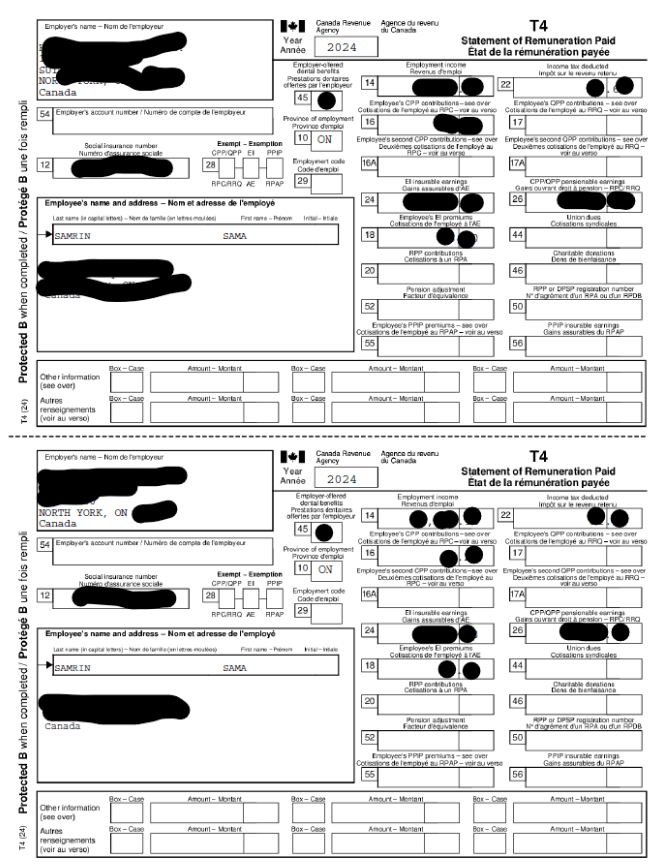
It basically has the same information in two languages – English and French. In my case, I just follow the English part.
I fill up the respective boxes on my UFile’s T4 sections with their corresponding values from this document.
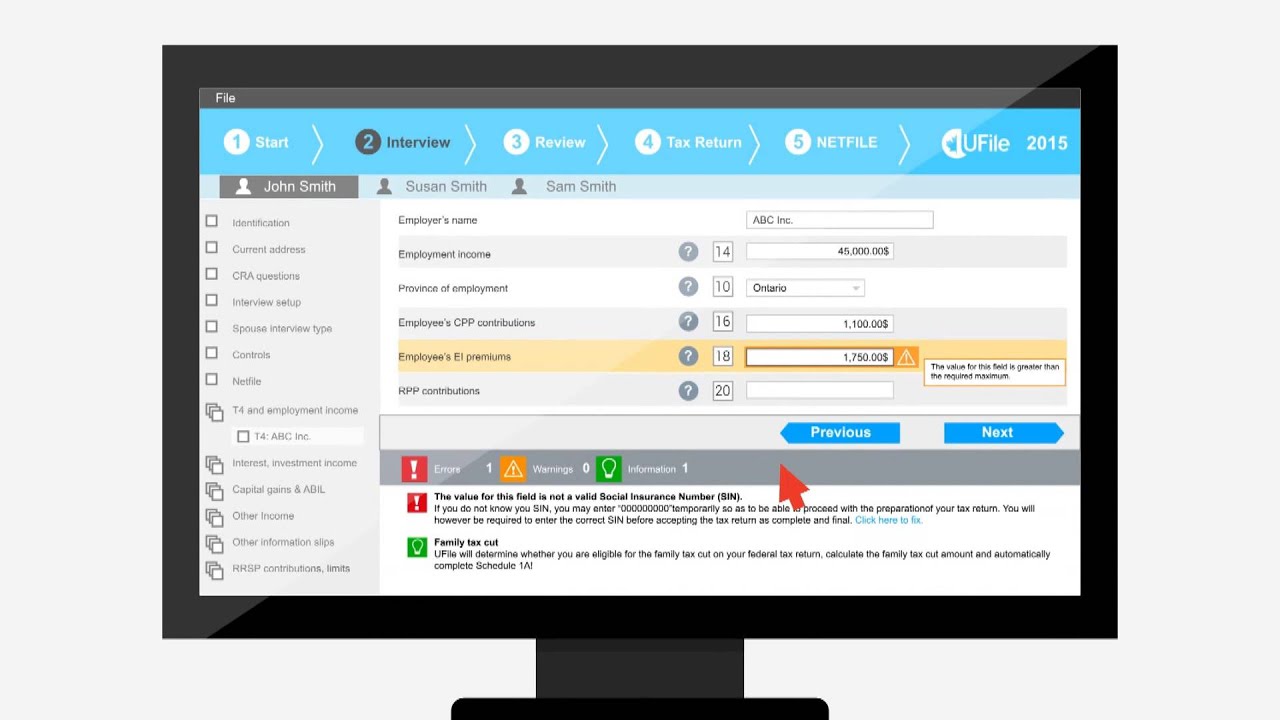
To do so, first I get to the T4 section of the Interview tab. Here, I will press the “+” sign next to “T4 income (earned in any province except Quebec)” for EACH of the T4 documents I got.

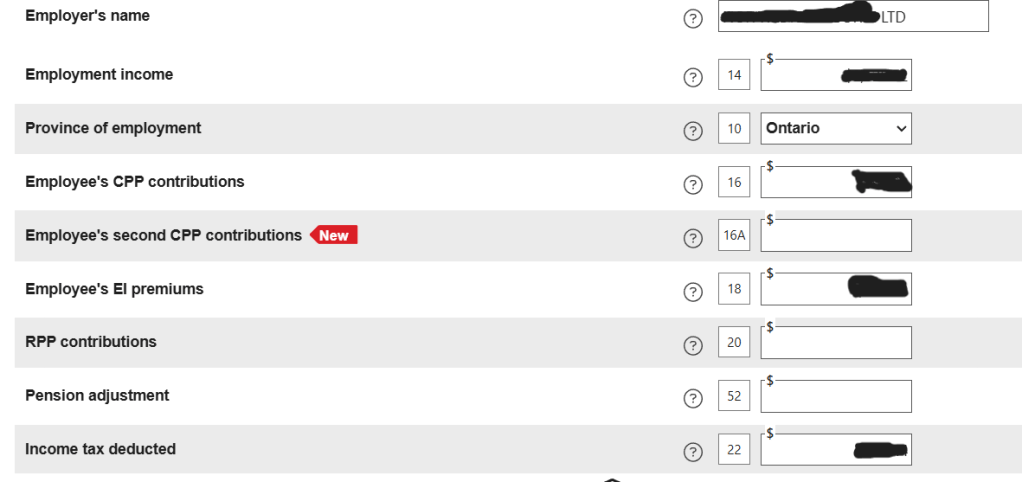
For each T4 entry, I will fill up the numbered boxes on the page, matching them with the numbered boxes on my T4 document.
As an example, you can see here that I filled up the boxes 14, 10, 16, 18, and 22 for this employer on my UFile, because those were the boxes with values on the T4 I got from this employer.
For instance, if the amount mentioned on box 14 of that T4 is $1000.03, I enter $1000.03 in box 14 here. (I am calling these boxes, but a tax professional would probably call them LINES)
This way, I will fill up each T4 document on my UFile, as well as the T2202 document.
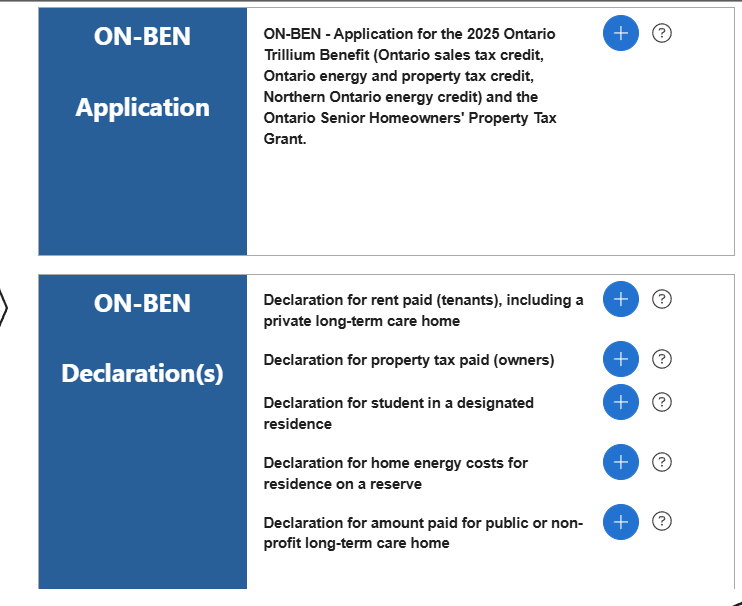
To provide the information from your rent receipt document, you will need to go to the Ontario tax credits section from the left-side menu.
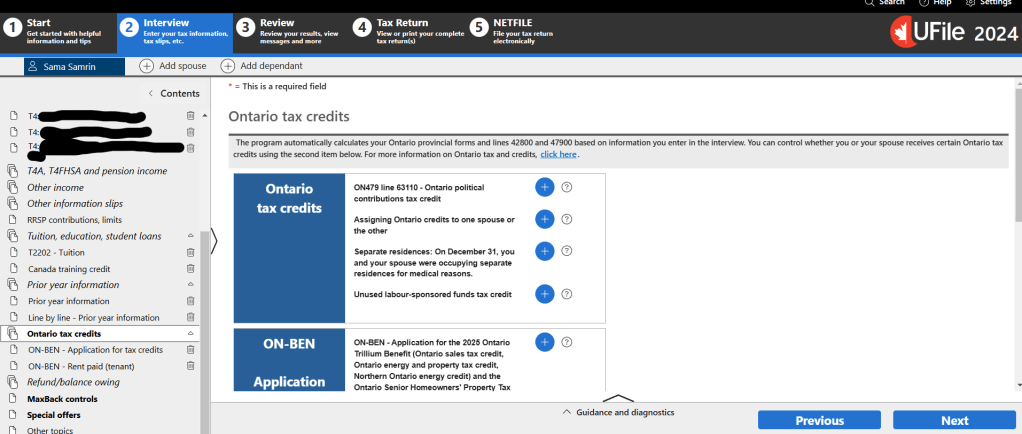
From there, you can apply for the Ontario Trillium Benefit from the “ON-BEN Application” section and you will have to enter all the information from your rent receipt in the “ON-BEN Declaration(s)” section.
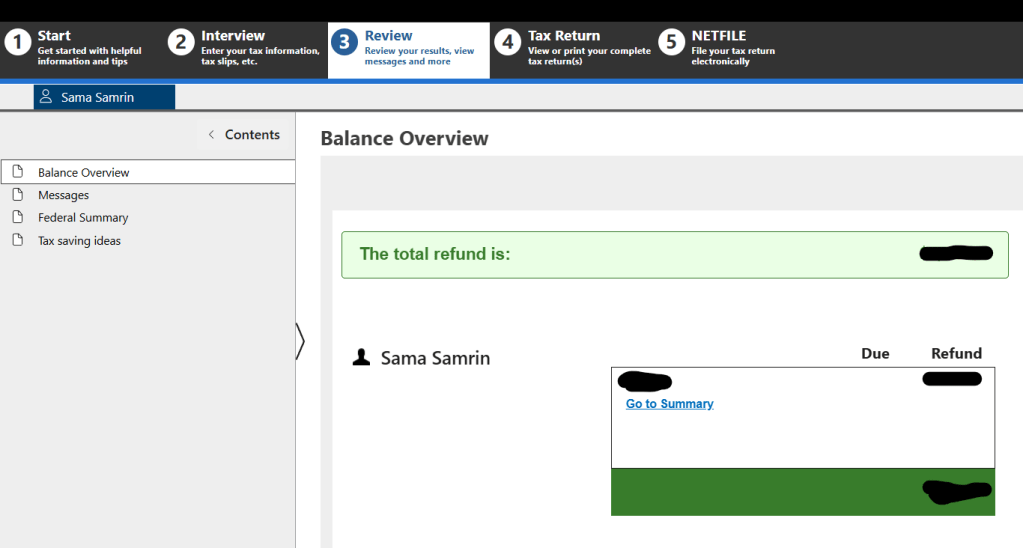
5. Review your submissions
Once you are done with filling all the relevant sections, you need to review the result from the “Review” tab. Go through all the four sections here on the sidebar to be sure.
6. Make the payment
Last year I filed my taxes there for free. I don’t remember why exactly – either because my total income for 2023 was not much, or because it was my first time using UFile. However, this time I did pay around $20.13 to file it. I got this charge after applying a discount code that was available on UFile till February 27th.

6. Download and File your tax returns
Once it’s done successfully, UFile will generate your entire file for the year in a PDF (around 50 pages) which you can easily download for future use from the “Tax Return” tab.
On the fifth and last tab, you finally file your tax returns. It should be successfully transmitted to the CRA in no time, after which you will get an email from UFile with the details and an email from the CRA about the tax return you just filed.
And that’s it! You’re done!
Filing taxes with UFile is a straightforward process when you have all your documents ready and follow each step carefully. By connecting your CRA account, double-checking your entries, and making sure you claim all eligible deductions, you can maximize your refund and avoid delays.
If you’re filing on your own for the first time, don’t worry—UFile guides you through each step, making the process easier than you might expect.
Have you tried filing your taxes online before? Let me know your experience in the comments!
Discover more from The Free Magpie
Subscribe to get the latest posts sent to your email.

